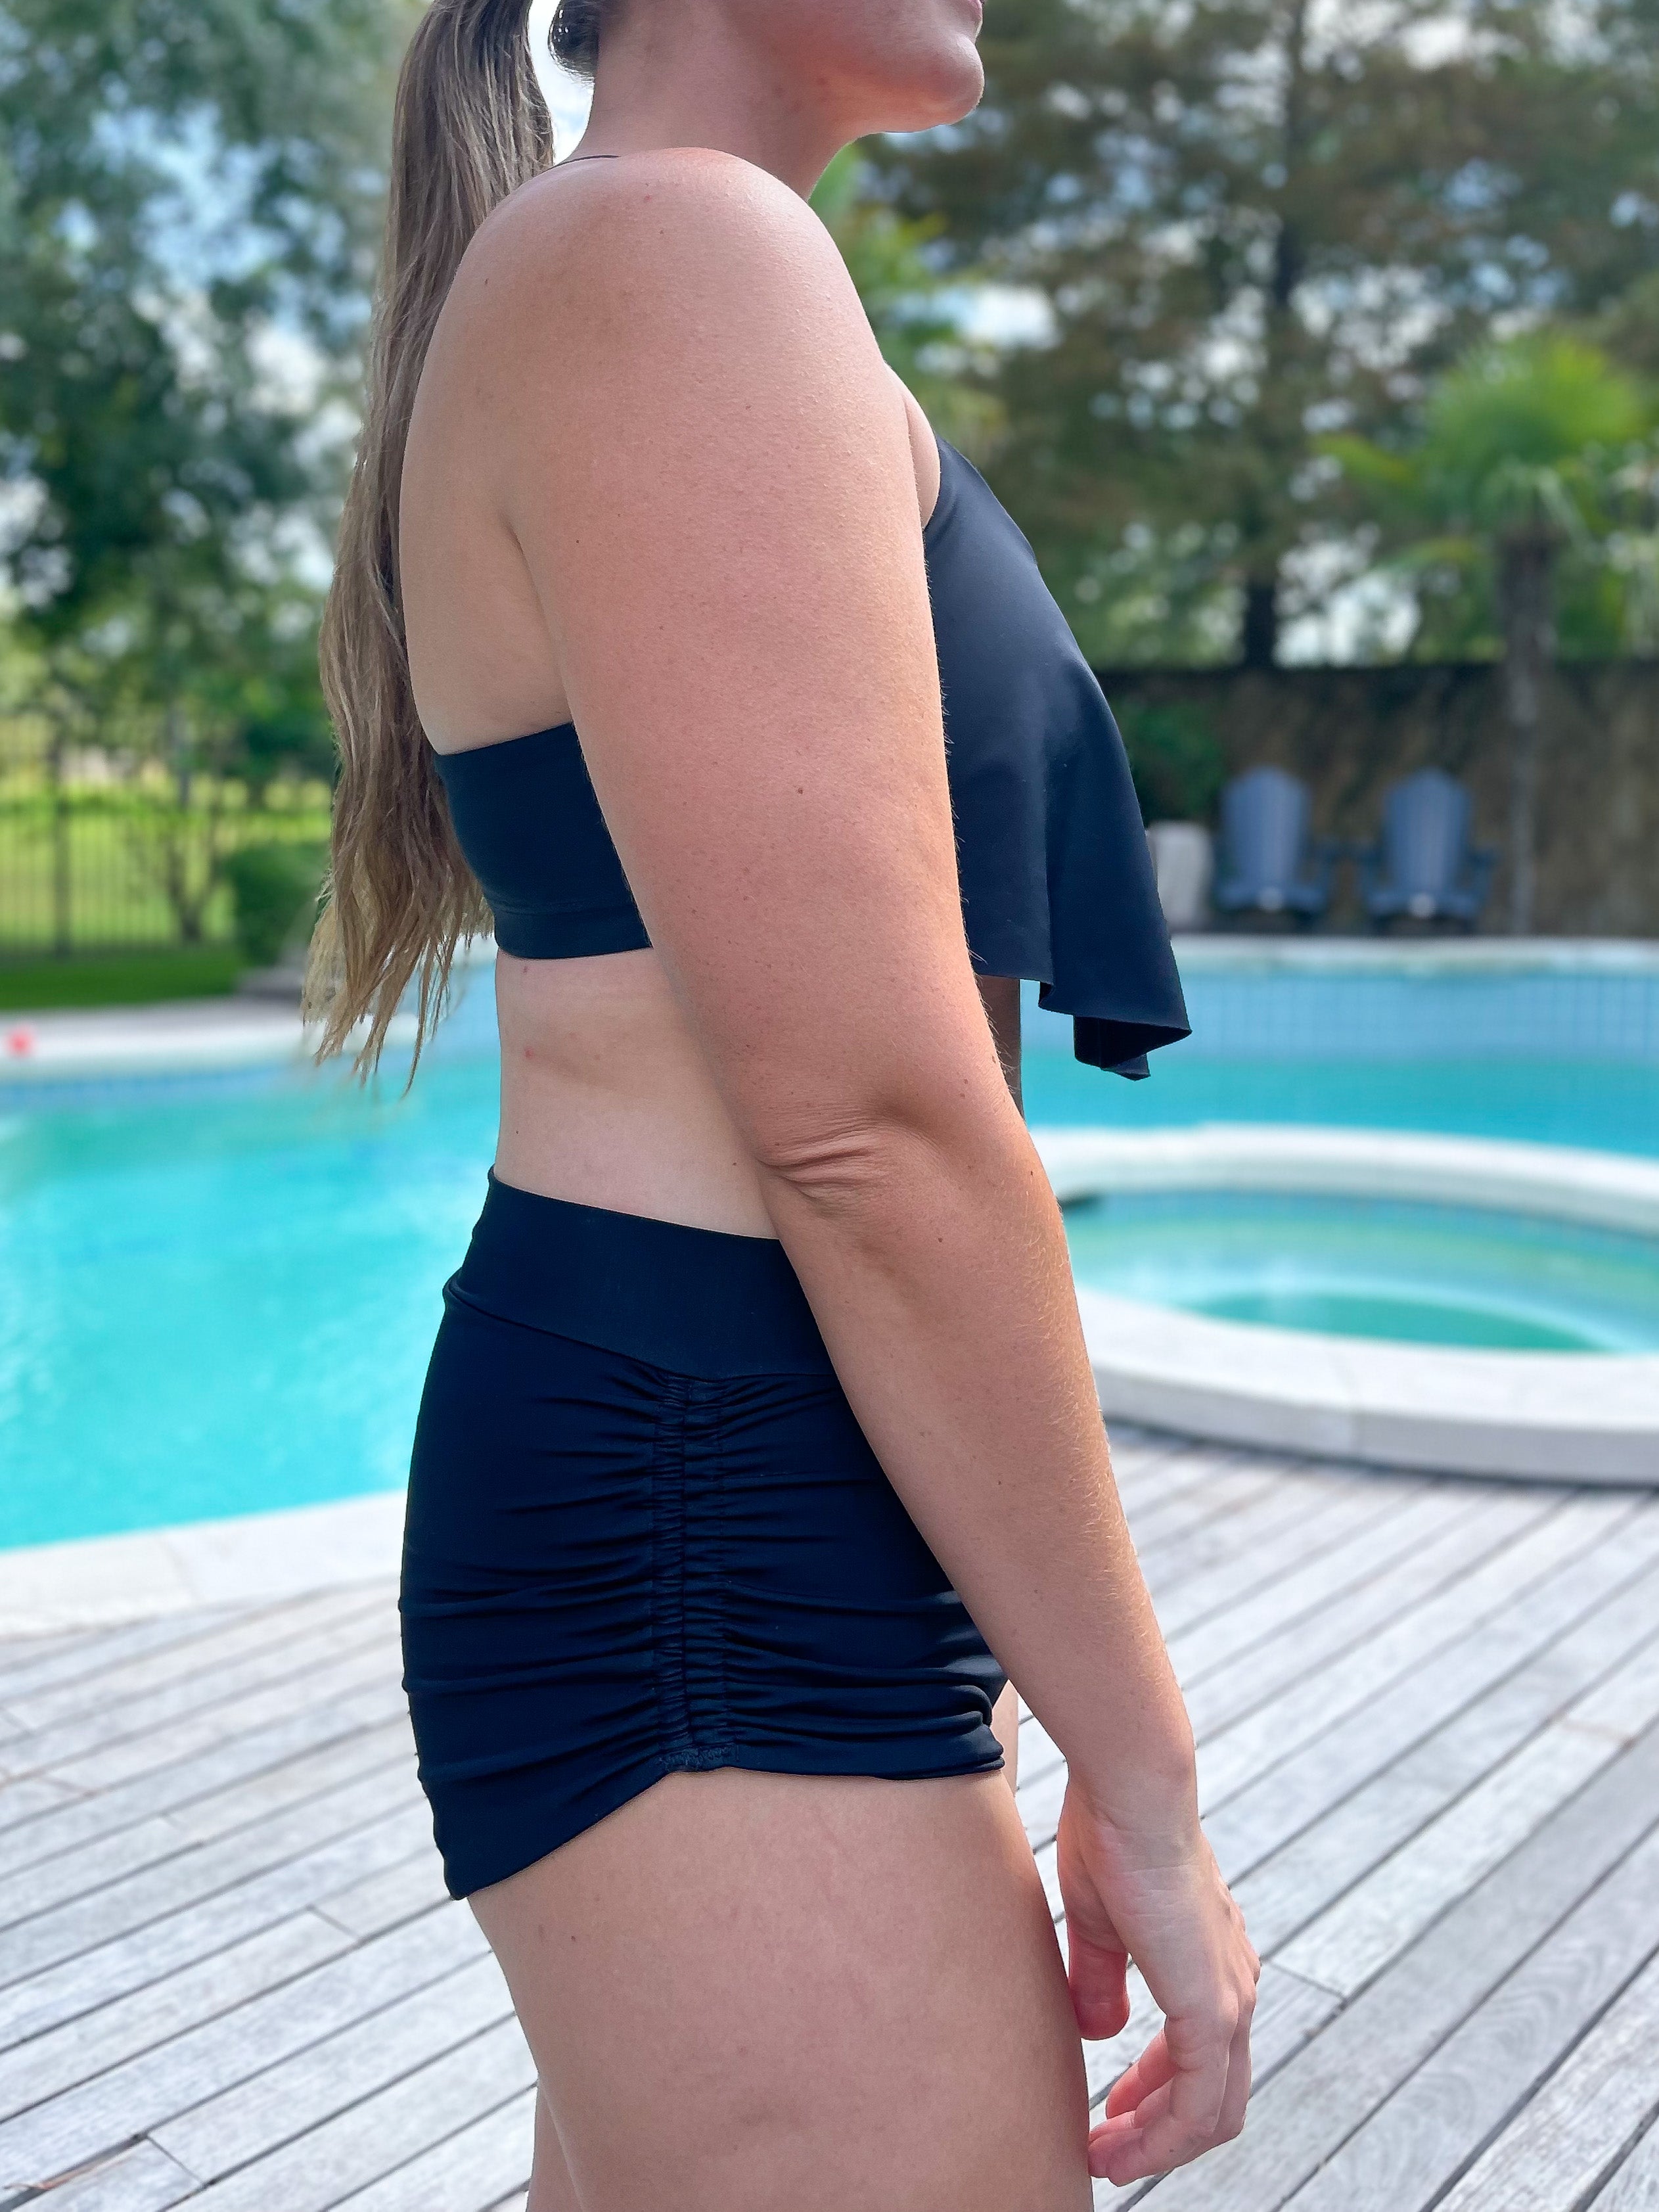
The Embrace Bra is my favorite bra that Greenstyle makes. I love the full coverage and cute detailing of the front. I decided I wanted to hack the back to make it strappy. Using techniques from the Power Sports Bra and the Cami, I was able to make it happen! The width the Embrace’s front straps are perfect for three thinner back straps. You can create any design you can dream up; you’re only limitation is the length of your straps and your creativity!
Pieces required:
Main/ contrasting fabric:
Front bodice
Back body *
Under chest Band
Four 1 ¼” wide strap pieces (length is determined by your design; mine were all 14”)
One 1 ¼” wide neck binding piece (very long; mine was 44”)
Power mesh:
Front lining
Back body (option to cut ¼” off the bottom)*
Elastic
1 ½” or 2” elastic for chest band
Clear elastic the length of your four straps
Clear elastic the length of your binding piece long the back

*We are going to create the back body by altering the Single Racerback pattern piece (pages 41 and 42). Starting at the lateral side, draw a smooth curve to just above the keyhole in the middle of the back.


Steps
- Construct the bodice as instructed in the pattern, steps 1-5 of the Embrace pattern
- Sew the front of the bra main fabric to the back main fabric at sides. If desired, sew clear elastic along the armscye at this point.
- Sew the front liner to the back liner at the sides.
- Facing right sides together, sew the bra down one armscye, across the back, and up the other armscye.
 5. Sew clear elastic along the back seam. You will sew it into the seam allowance, into the power mesh. It will not show on the right side of the back.
 6. Construct the four shorter straps using the method shown in step 27 and 28 of the Power Sports Bra. For this technique, fold the strap in half, length-wise, fabric right side together. Sew clear elastic along the raw edge using a stretch stitch or serger. Turn the tubes right side out.
 7. Align the two shorter straps to the lateral (sewn) edge of the Embrace front straps. The straps will be right side facing with the bodice of the bra. Repeat on other strap. Stretch stitch or serge them in place. Flip the bra right side out.

 8. Attach your super long strap to the bra as the binding, using a modified version of the technique used in steps 9-15 of the cami.
Fold the long strap piece in half and pin right side to the ront center of your neck. Stretching slightly, secure the long piece to the top of the bodice neck. At the edge of the neck, you will sew clear elastic down the length of the piece (as shown in step 14 of the cami); this will be done on both sides. I prefer to sew with the clear elastic on the bottom to minimize any stretch or twisting on the cloth.

 9. Secure the binding around your raw edge and top stitch in place (as shown in step 15 of the cami). Cut off excess fabric.

 10. Attach chest band as instructed in the patterns.
 11. Now you can play and design the back of the bra however you want! Once you’ve decided on your design, pin the straps down and check for fit.
 12. Being sure to sew on the clear elastic, secure each strap with a narrow (2.5) zig zag stitch. Cut off extra strap length.
 13. Admire your new strappy back Embrace Bra!


