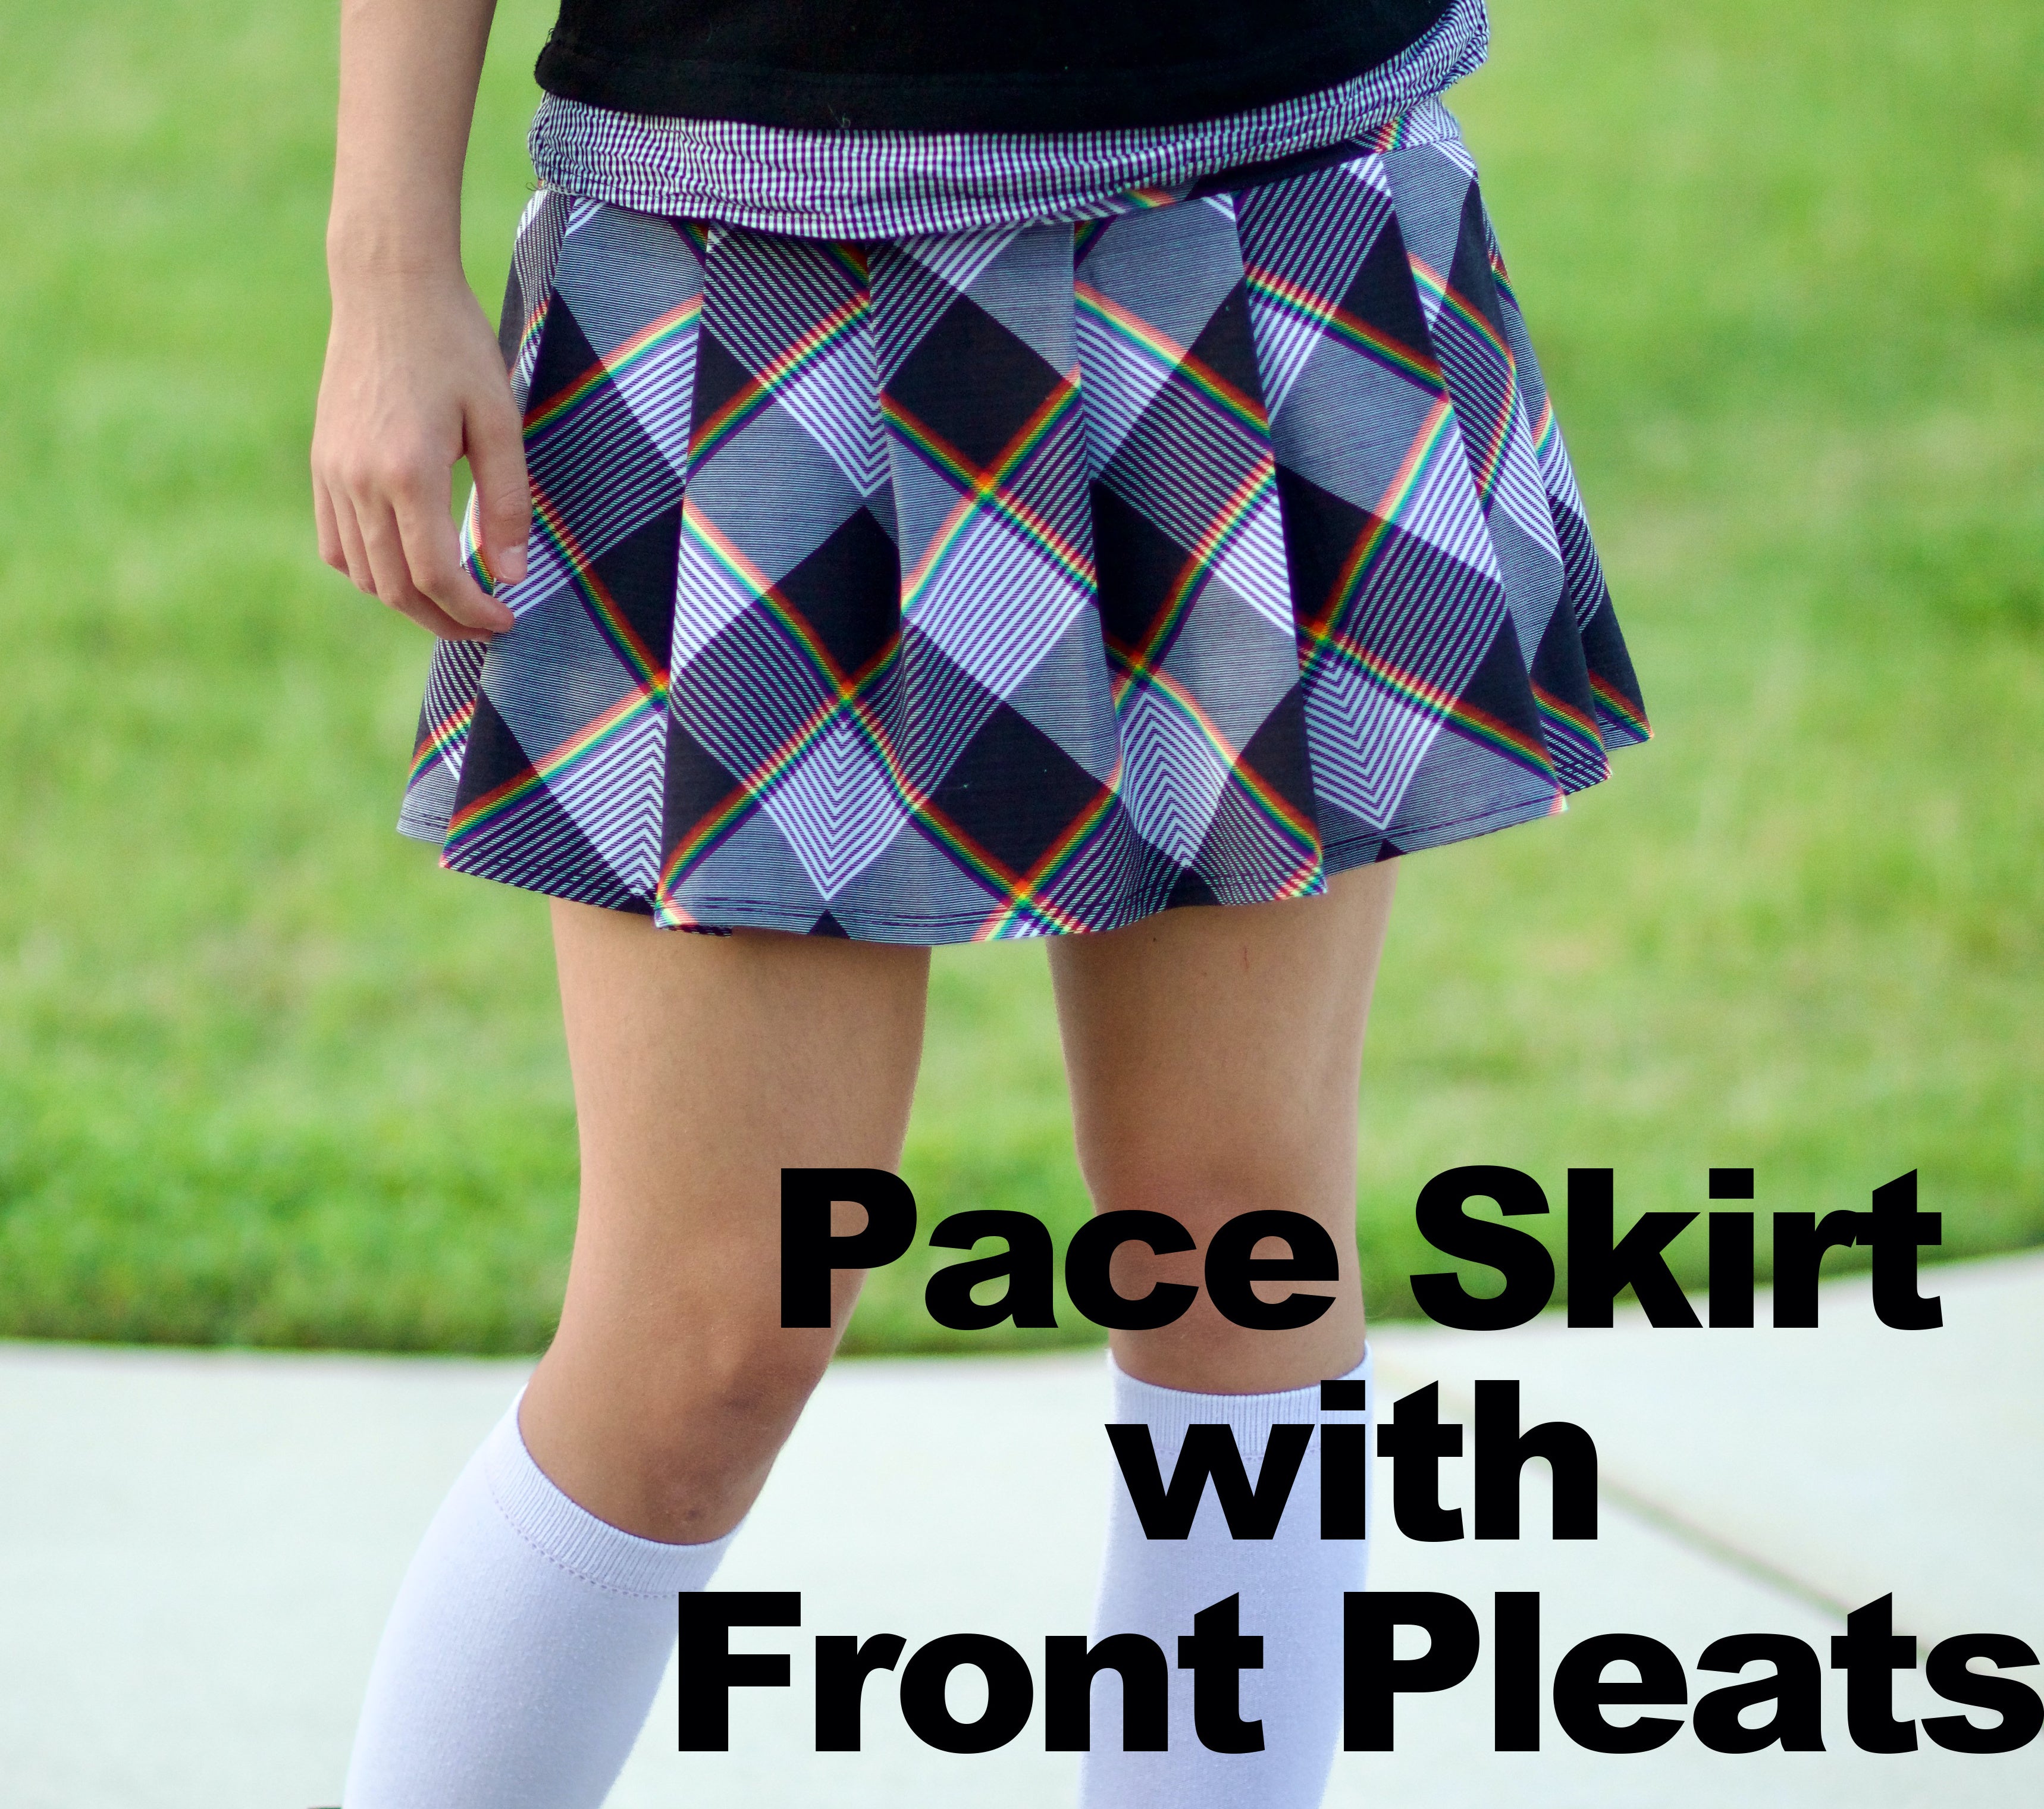
Hello Greenstylers! Cynthia here with an easy modification for adding front pleats to the fun and sporty Pace Skirt.

Background
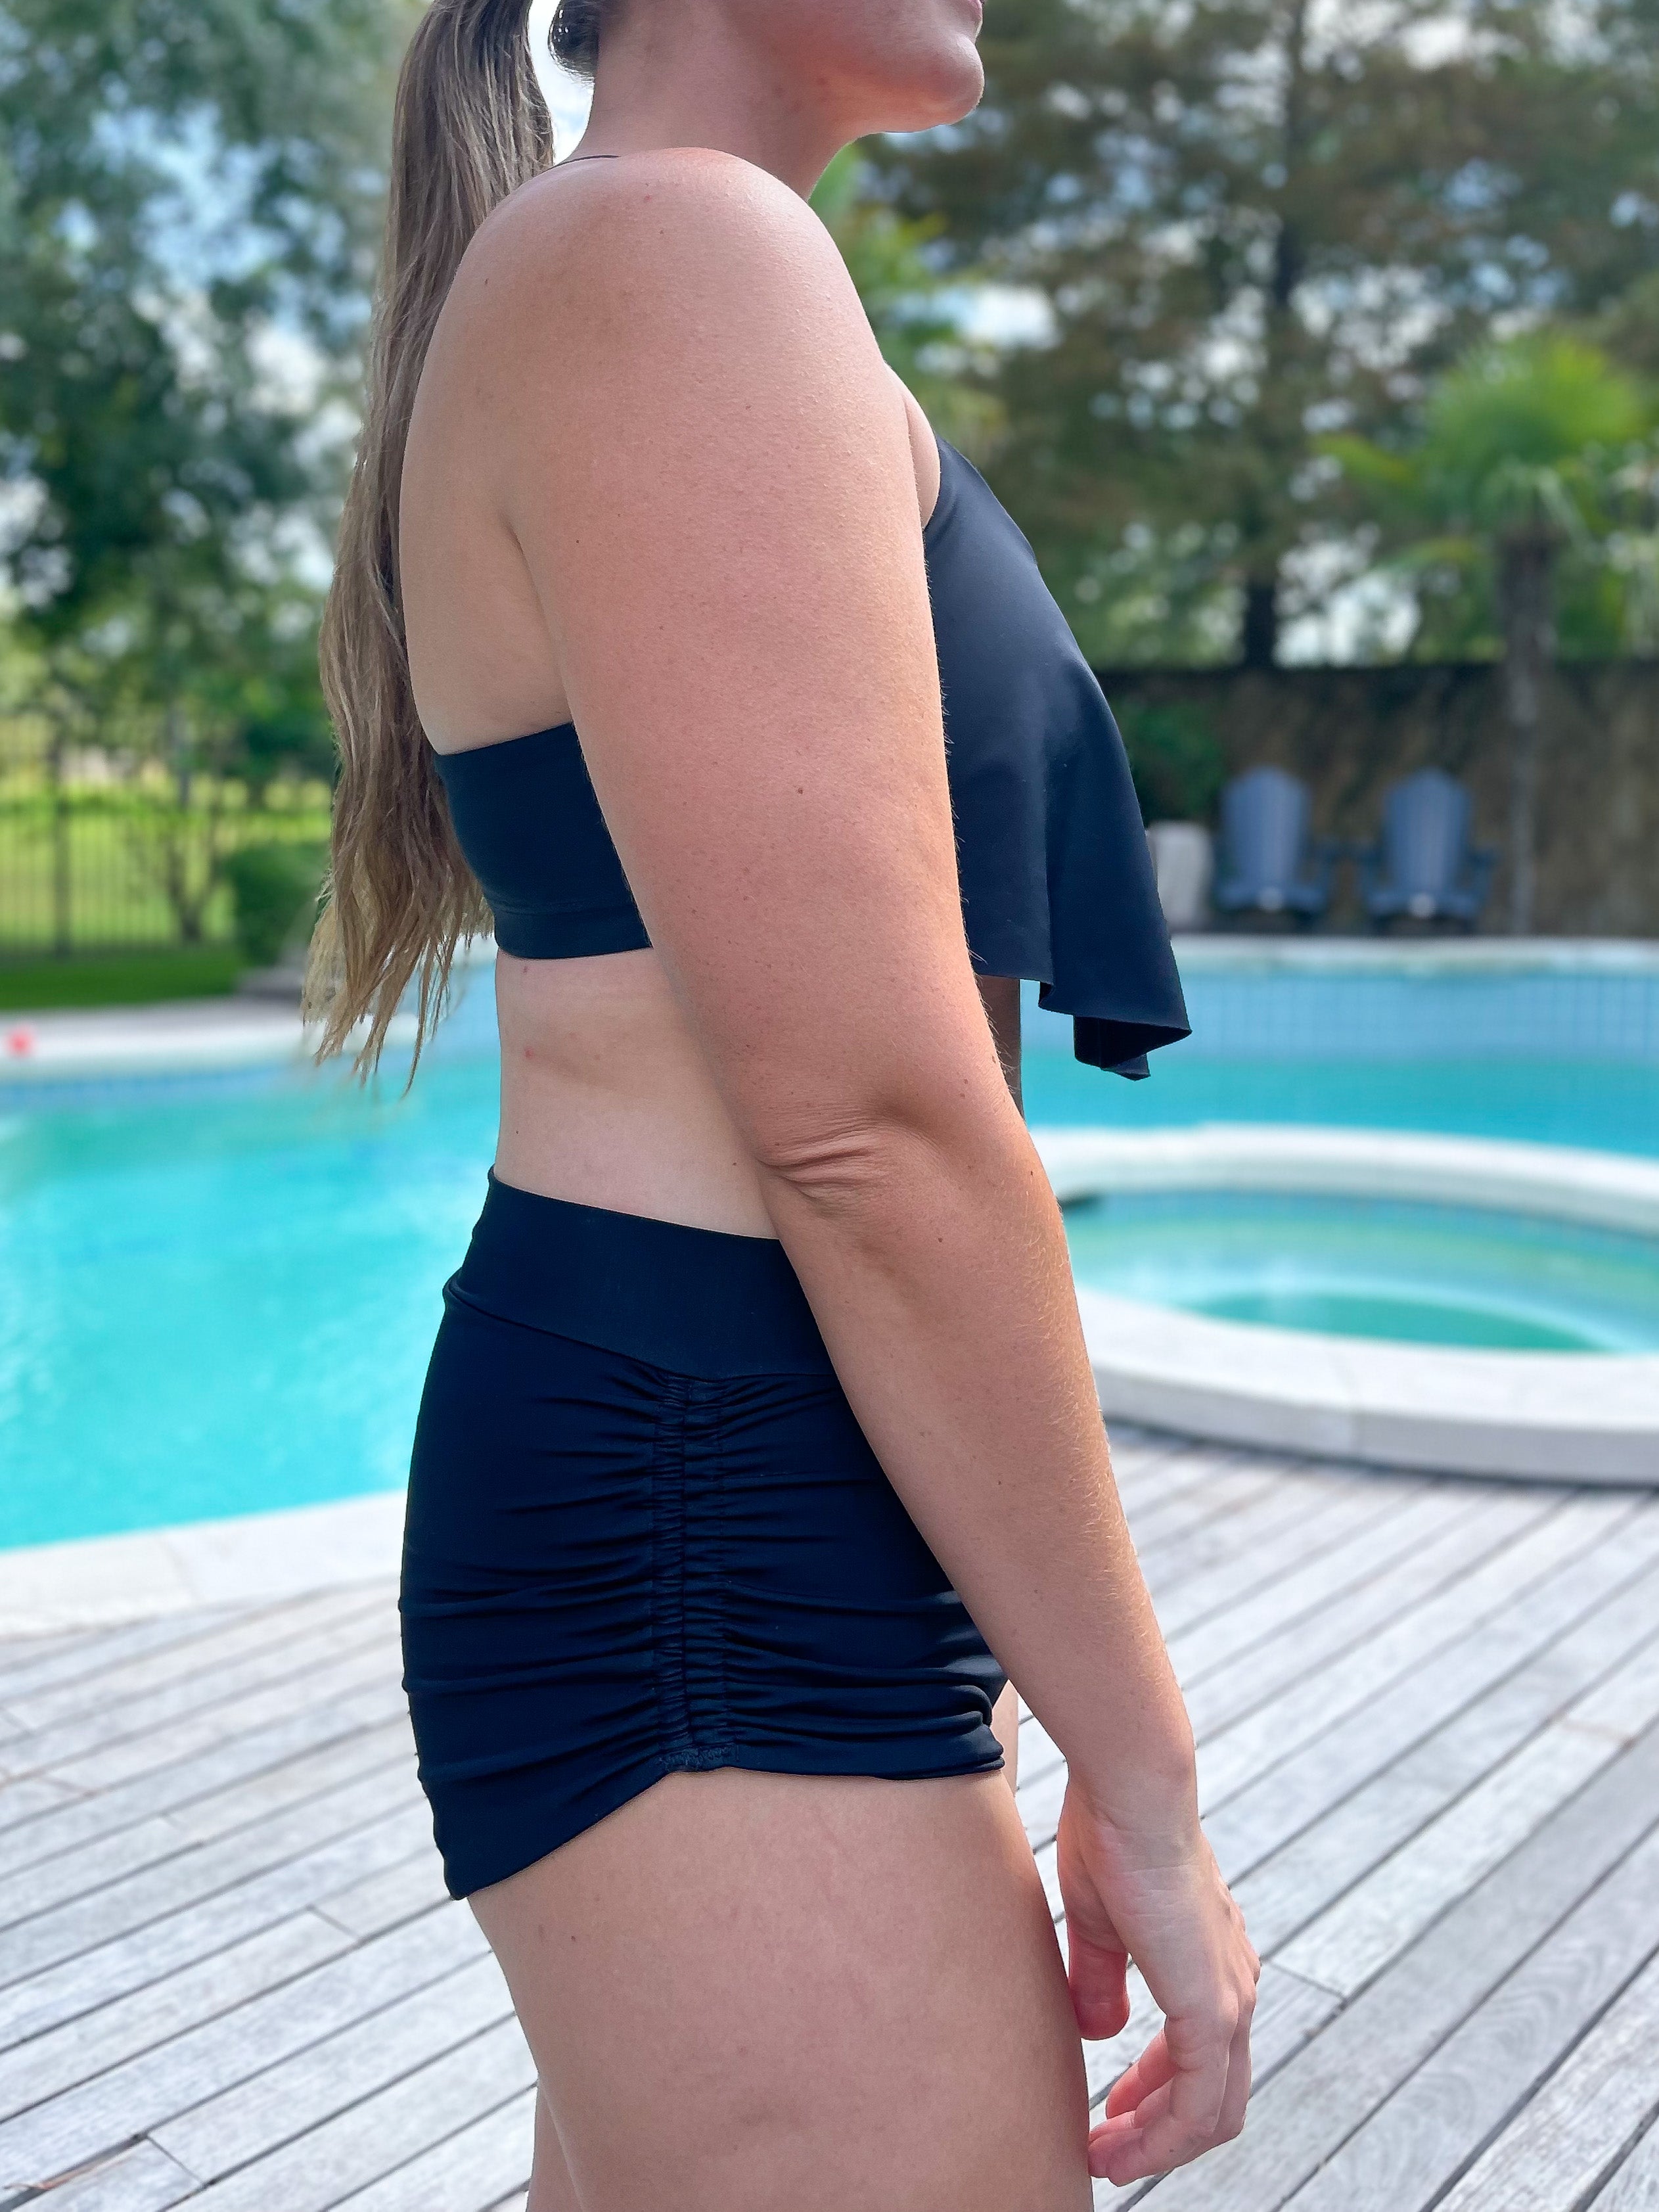
The Pace Skirt was designed for running and sports with a flat skirt front and flirty pleats in the back. It also includes attached under shorts or briefs. We love the pleats so much in the back that we wondered how it would work to make a version with pleats in the front, as well!Trials. I tried this a couple of ways, one of which eliminated the Upper Back piece so that the pleats extended all the way up to the waistband. But I found the method too cumbersome as it involved elongating and blending the Upper Back Piece with the Pleat Pieces and it also resulted in 5 layers of fabric being stitched into one seam which was too thick for my waistband seam, especially when using my preferred fabric for this skirt - Custom Cotton Lycra, which drapes and pleats beautifully. The fabric shown on this model comes from Emerald Curtain Fabric.
Success. The easiest version maintains the Upper Back piece, which results in 2 horizontal seams: 1 between the waistband and Upper Back and 1 between the Upper Back and Pleated Skirt. The only downside to this is that, if you want to wear a cropped shirt or tightly tucked shirt, you may not prefer the appearance of two horizontal seams. I found that, as long as the shirt covers the top waistband seam I don't mind the double seam at all. In fact, I really like how it keeps the skirt silhouette slim through the high hip. (The version with the pleats going up to the waistband added a good amount of bulk over the high hip.)


Let's get started!
We need to remove the curve on the Upper Back and Pleated Skirt pieces to make them straight edges. The curve is cute when connecting to the original front piece. But when we put two curved back pieces together for the mod we end up with side seams that hang lower than the front and back centers. We'll straighten them out for a straight hem all the way around.
To make your modifications you will need:
1. Pattern Pieces: Pleated Skirt and Upper Back
2. Paper Cutting Scissors and Tape
3. Extra Paper
4. Cutting Mat and Straight Edge such as an Acrylic Ruler

Step 1 Adjust the Pleated Skirt Piece
Align the left Fold edge of your Pleated Skirt Piece with a vertical line on your cutting mat to create a right angle for the new top edge of your piece. See the yellow line below.

Slip a sheet of paper under your pattern piece and tape it in place to fill in the empty space creating a new top edge. Shown below. The edge on the right-hand side won't continue the side seam curve but don't worry about that for now. We'll adjust that side seam edge later.
Extend the Pleat markings to the new top edge with a pen or pencil (not shown).

Now set this piece aside for the moment and grab the Upper Back Piece.
Step 2 Adjust the Upper Back Piece
For the Upper Back Piece we'll do the opposite adjustment. Instead of adding a wedge like we just did, we'll remove a wedge.
Line up the Fold edge of the Upper Back piece with a vertical line on your cutting mat. Draw a 90 degree line from the bottom of the fold edge across to the side seam edge as shown below in yellow.

Cut along the yellow line to remove the bottom wedge and create a new straight bottom edge.

Step 3 Adjust the Side Seam
I found that leaving the side seam as-is resulted in an outward lump at the seam between the Upper Back and Pleated back seams. Adjusting the side seam removes the lump resulting in a smooth side seam.
Line up the two pieces as shown and draw a straight line from the bottom side seam edge of the Pleated Skirt Piece to the top side seam edge of the Upper Back Piece.