
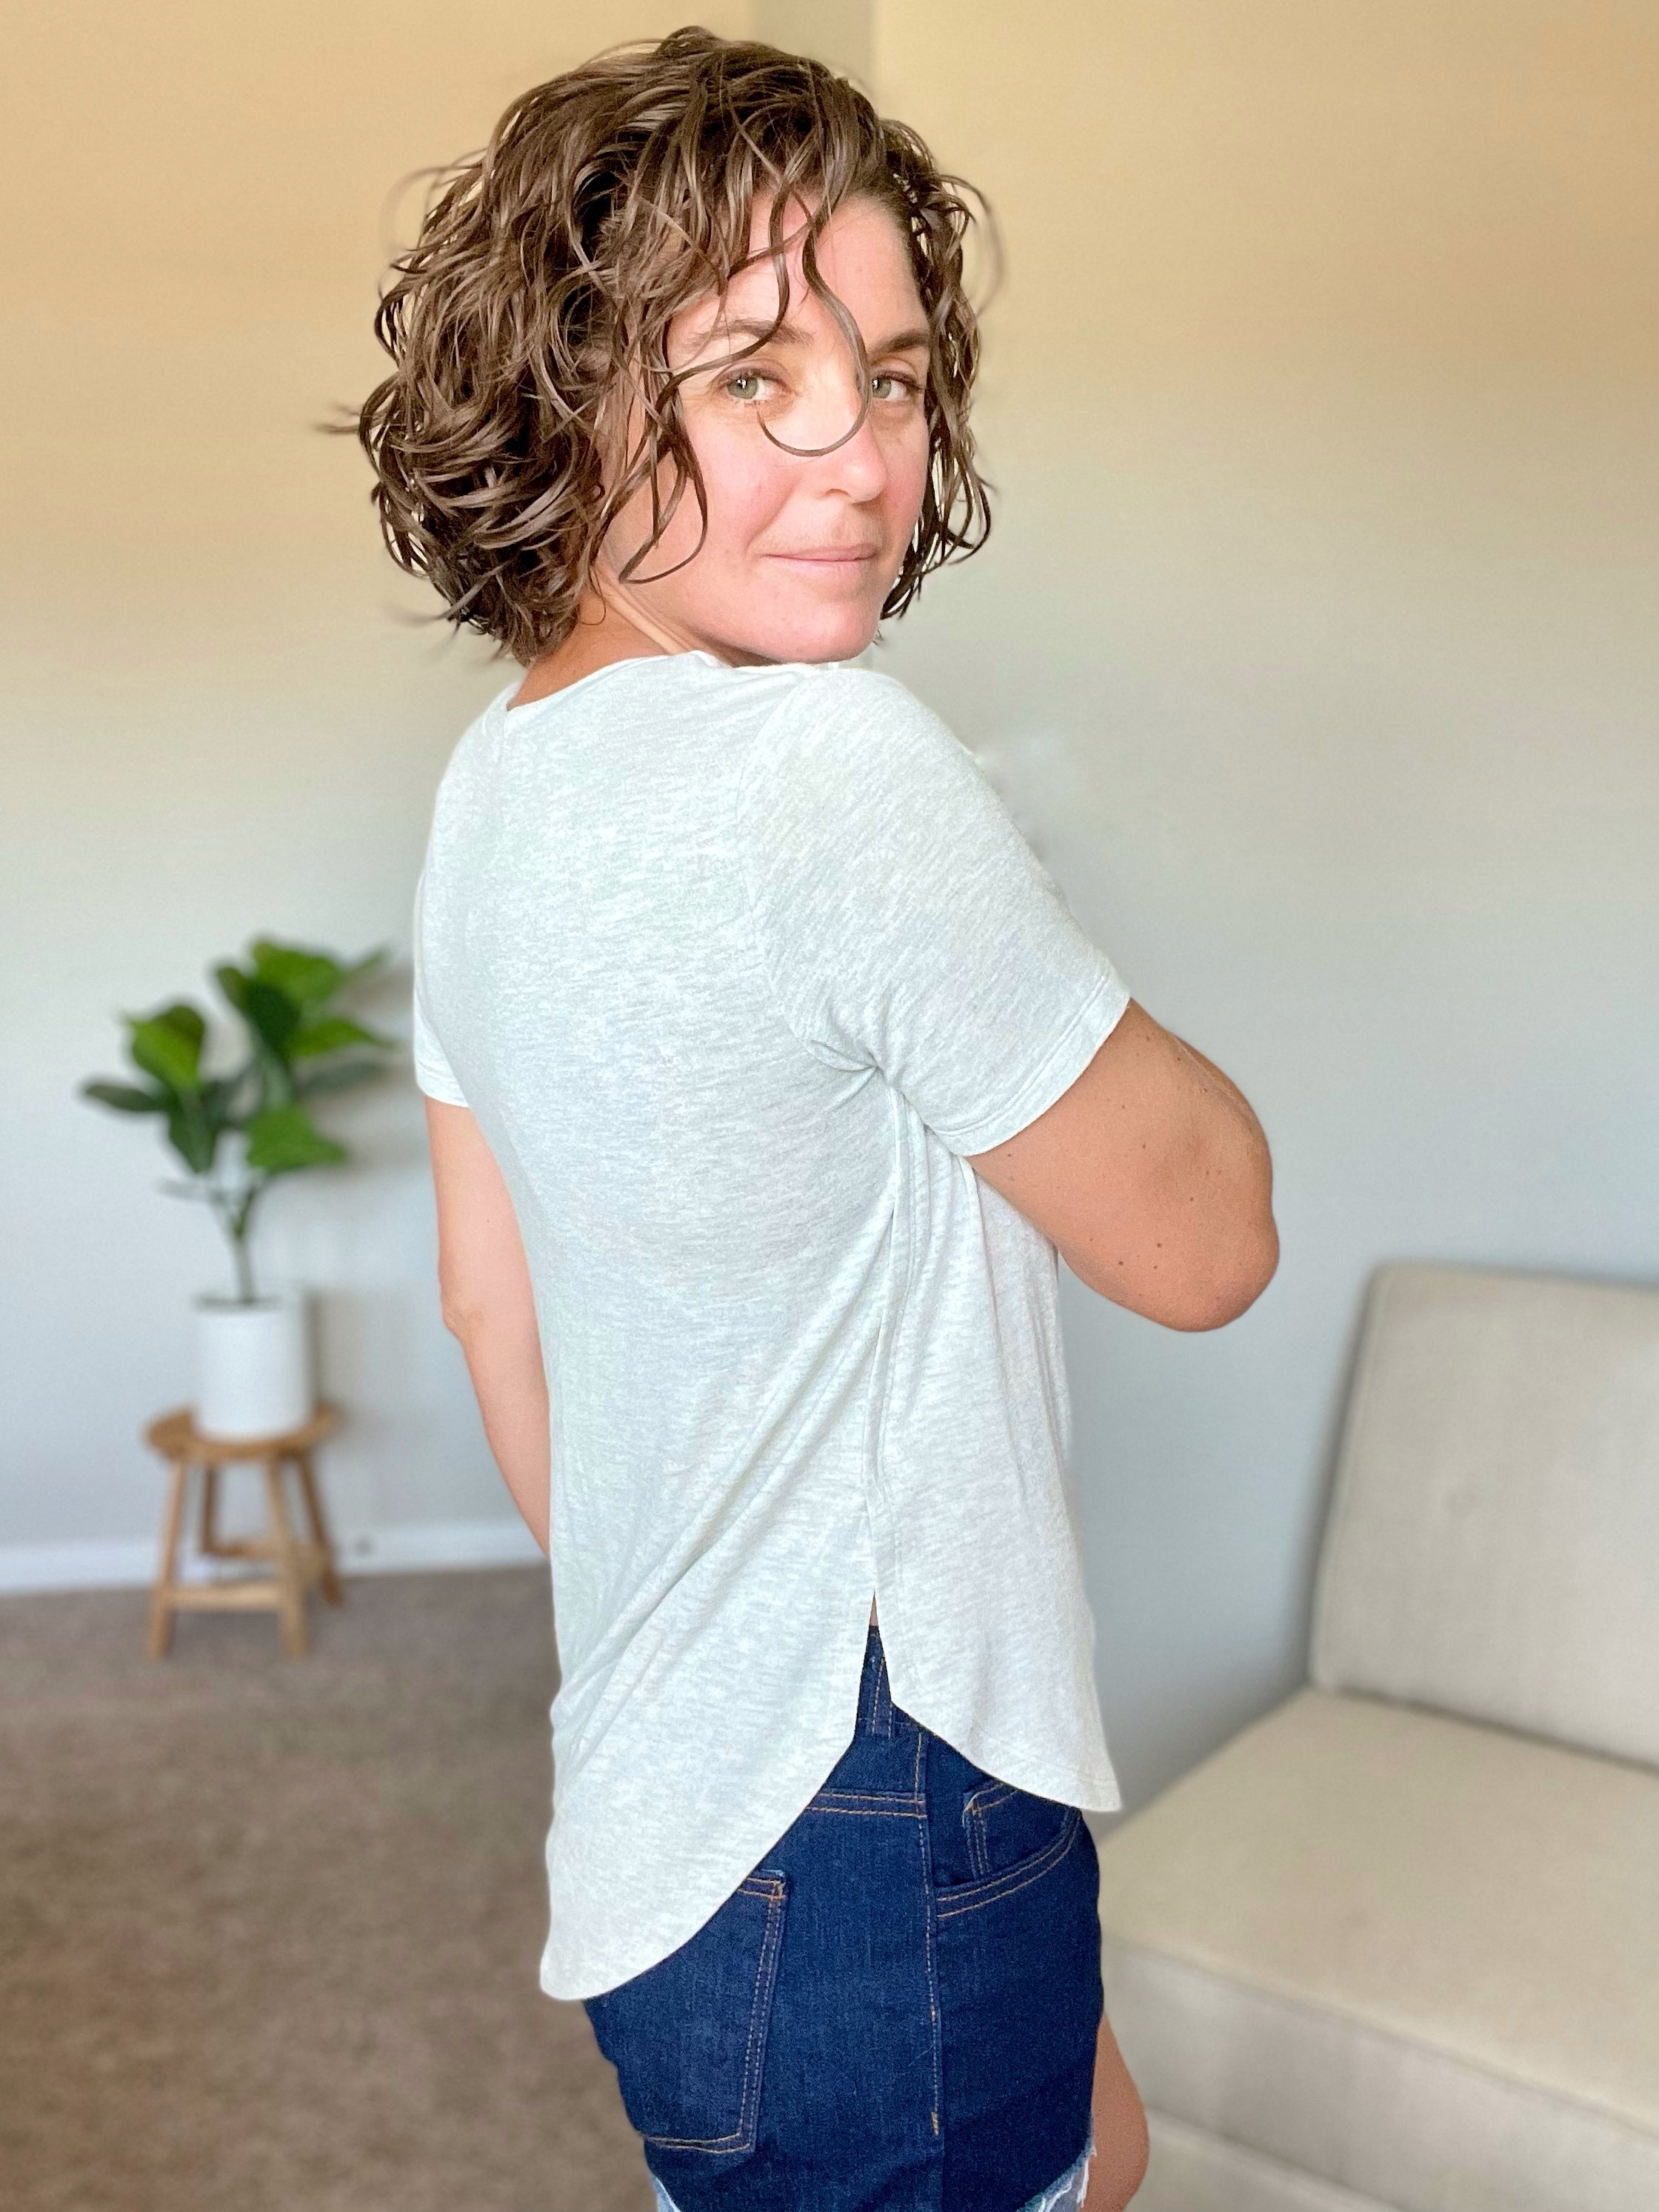
I love the Ascend Tank, especially the overlap of the two-level curved hem. I wanted to translate the tank into a sleeved shirt, so I mashed it with the (free) Green Tee, the fabulous casual shirt that can be either a scoop or V neck shirt.
The major pattern changes for this mash up occur in the cutting stage. The two patterns need to be aligned at the shoulder, so if you use paper patterns, you can simply overlap the pattens (both the front pieces and the back), taping them at the shoulder.
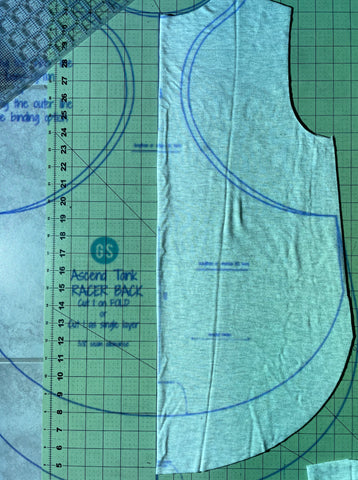
I use a projector to cut, so in the images for this tutorial, you’ll see me flipping back and forth between the two patterns. If you're using a projector, find a point on your cutting mat where the midlines align and inner shoulder seam is as close as you can get to matching up.
The major difference in construction will be doing an inset sleeve after constructing the body according to Ascend instructions.
Cutting Instructions
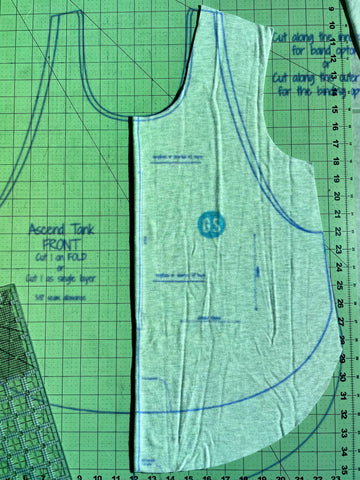
Starting at the midpoint of the neck, cut at whichever neckline you want. I went with the depth of the Ascend. You will need to finish at the shoulder peak of the Green Tee (I just free-handed to blend the two).


Follow along the Green Tee shoulder seam and along the armscye. You’ll want to extend the armscye an extra ½” past the pattern piece.

Using a ruler, you will extend a line from the armscye down to the bottom side curve of your chosen length. Finish the front by following the hem curve of your desired length.

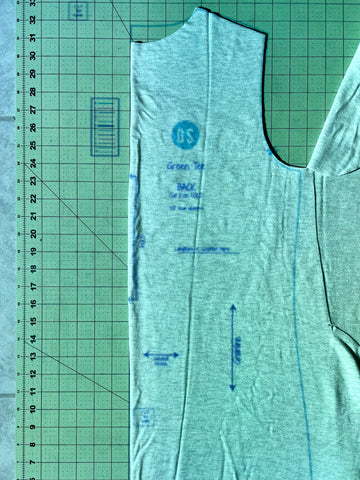
For the back, start by following the neckline of the ascend; stop it at the inner shoulder of the Green Tee.
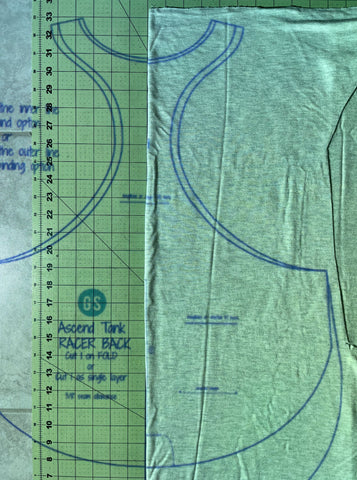
Follow the shoulder line and armscye of the Green Tee. You will again extend ½” past the side seam.
Use your ruler to connect the armscye to the bottom curve of the Ascend.

Follow along the bottom hem of the tank.

Also, cut the sleeves and neckband for the Green Tee.
Assembly Instructions
Follow steps 1-3 of the Ascend instructions: fold the side seams and topstitch the side and bottom hem. Serge/ stretch stitch the shoulders. Overlap the hem, front over back. You will topstitch 4” PLUS the extra amount you extended the side seam to the bottom of the armscye. For mine, it was a total topstitch line of 8” because the side-seam was extended 4”.

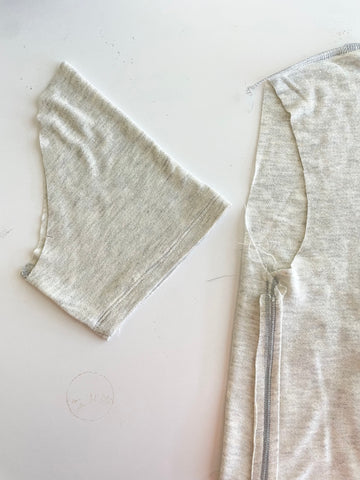
We are going to do an inset sleeve. Serge the seams of the sleeves right side together. Flip sleeve right side out; fold and topstitch the sleeve cuff.


Turn shirt bodice inside out. Keep the sleeve right side out and slip it inside the shirt bodice; sleeve and shirt should be RST. Pin in place and serge around the armscye.

Finish by attaching the neckband; top stitch if desired. Aaaaannd you’re done!


Comments
Going to try this mash-up today! I have printed patterns, so should be easy.
Thank you for posting this. I like the Ascent tank, but I really prefer sleeves when I work out especially at my age. I will give it a try. Just trying to understand where the Inner shoulder is located on the back piece.
Thanks for sharing this! I am so excited to try this mash of patterns!