Hello Everyone!
Today is Day 1 of the first GreenStyle Creations Sew Along. How exciting!
On our sewing table today is the Lacy or Lacy n Lane Hooded T-shirt. This is a super versatile shirt that comes in both women's adult and uni-sex children's sizes. Plus, there is a men's version coming SOON! You will be making these over and over again.
So let's get started! On today's schedule is to cut out our Lacy or Lacy n Lane top. The first thing you will want to do is prep your fabric. I always wash my fabric to reduce the shrinkage after it's assembled and to get the chemicals and store grime out of my fabrics. I typically wash in warm water and and dry it on medium heat, which is a hotter than I normally do for my wash water. I figure that will get more of the shrink out of the way, but it is totally a personal preference.
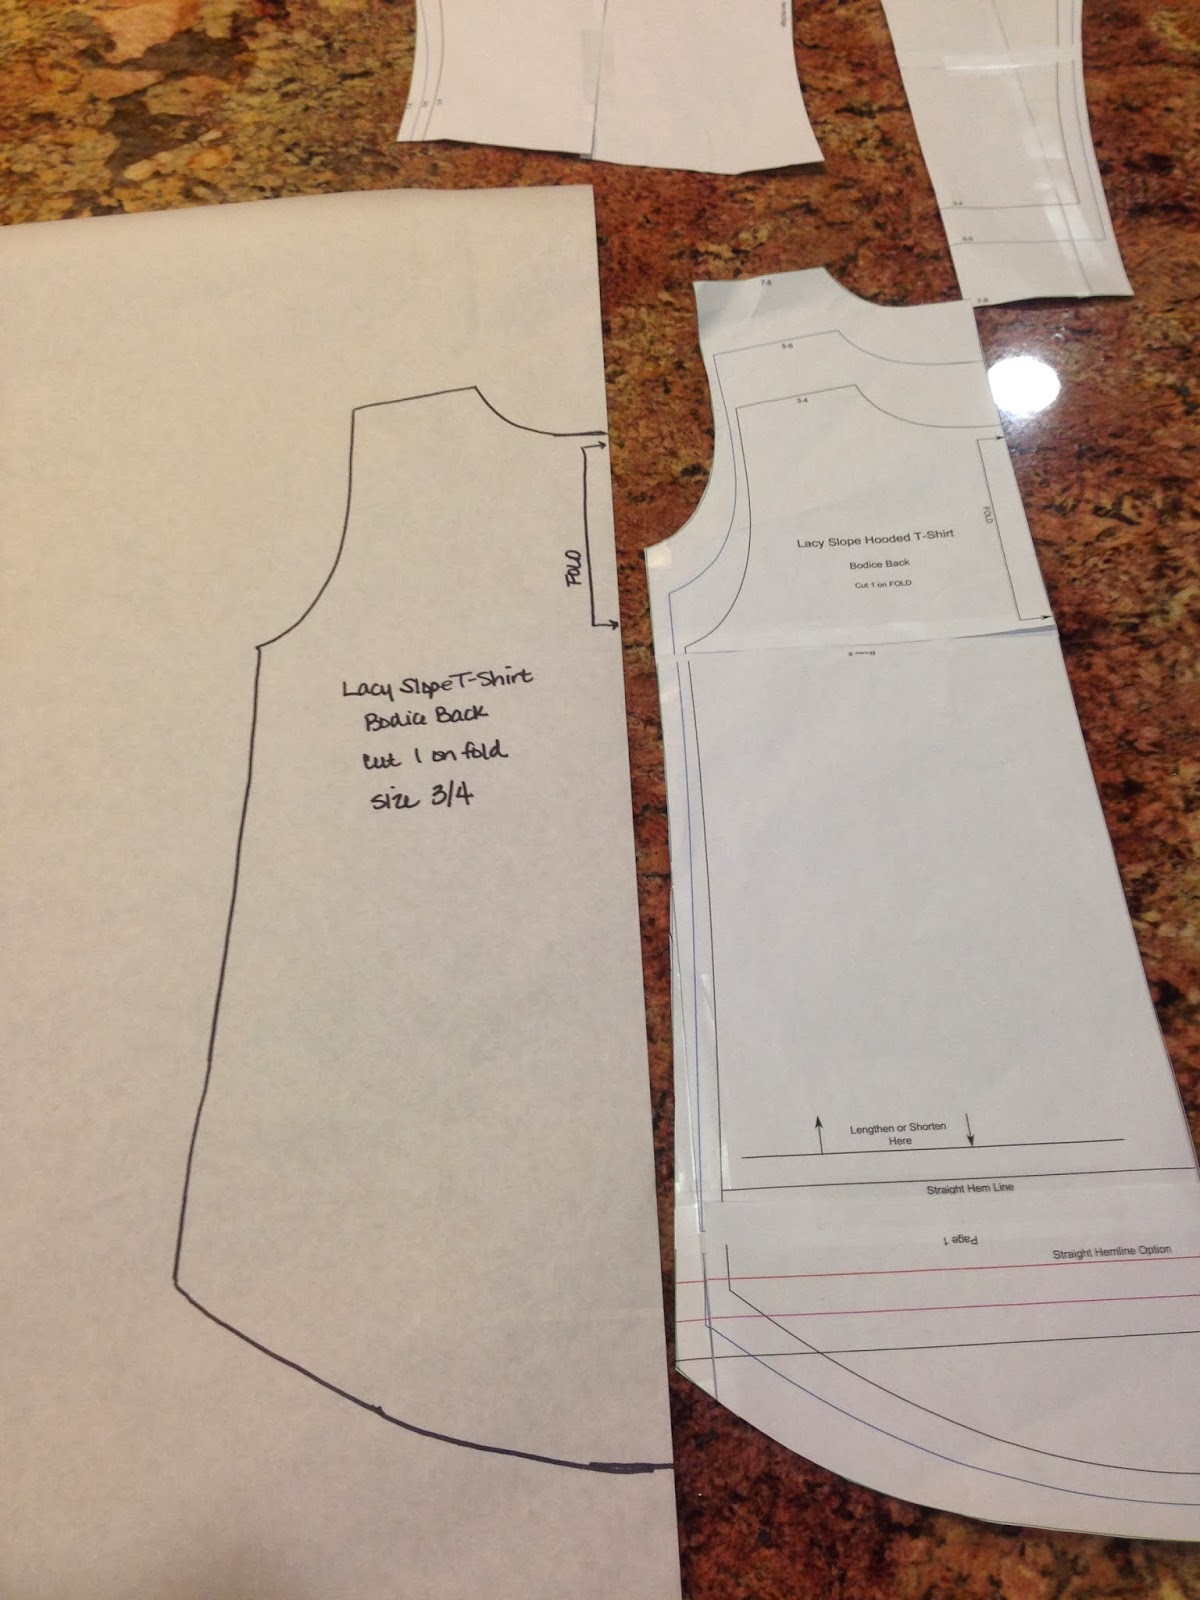
After the fabric is ready to go, you will need to print and assemble the pattern. There is a great diagram in the pattern to show you how to lay out your pattern. I always tape it together as one big piece first, them cut out the individual pieces.
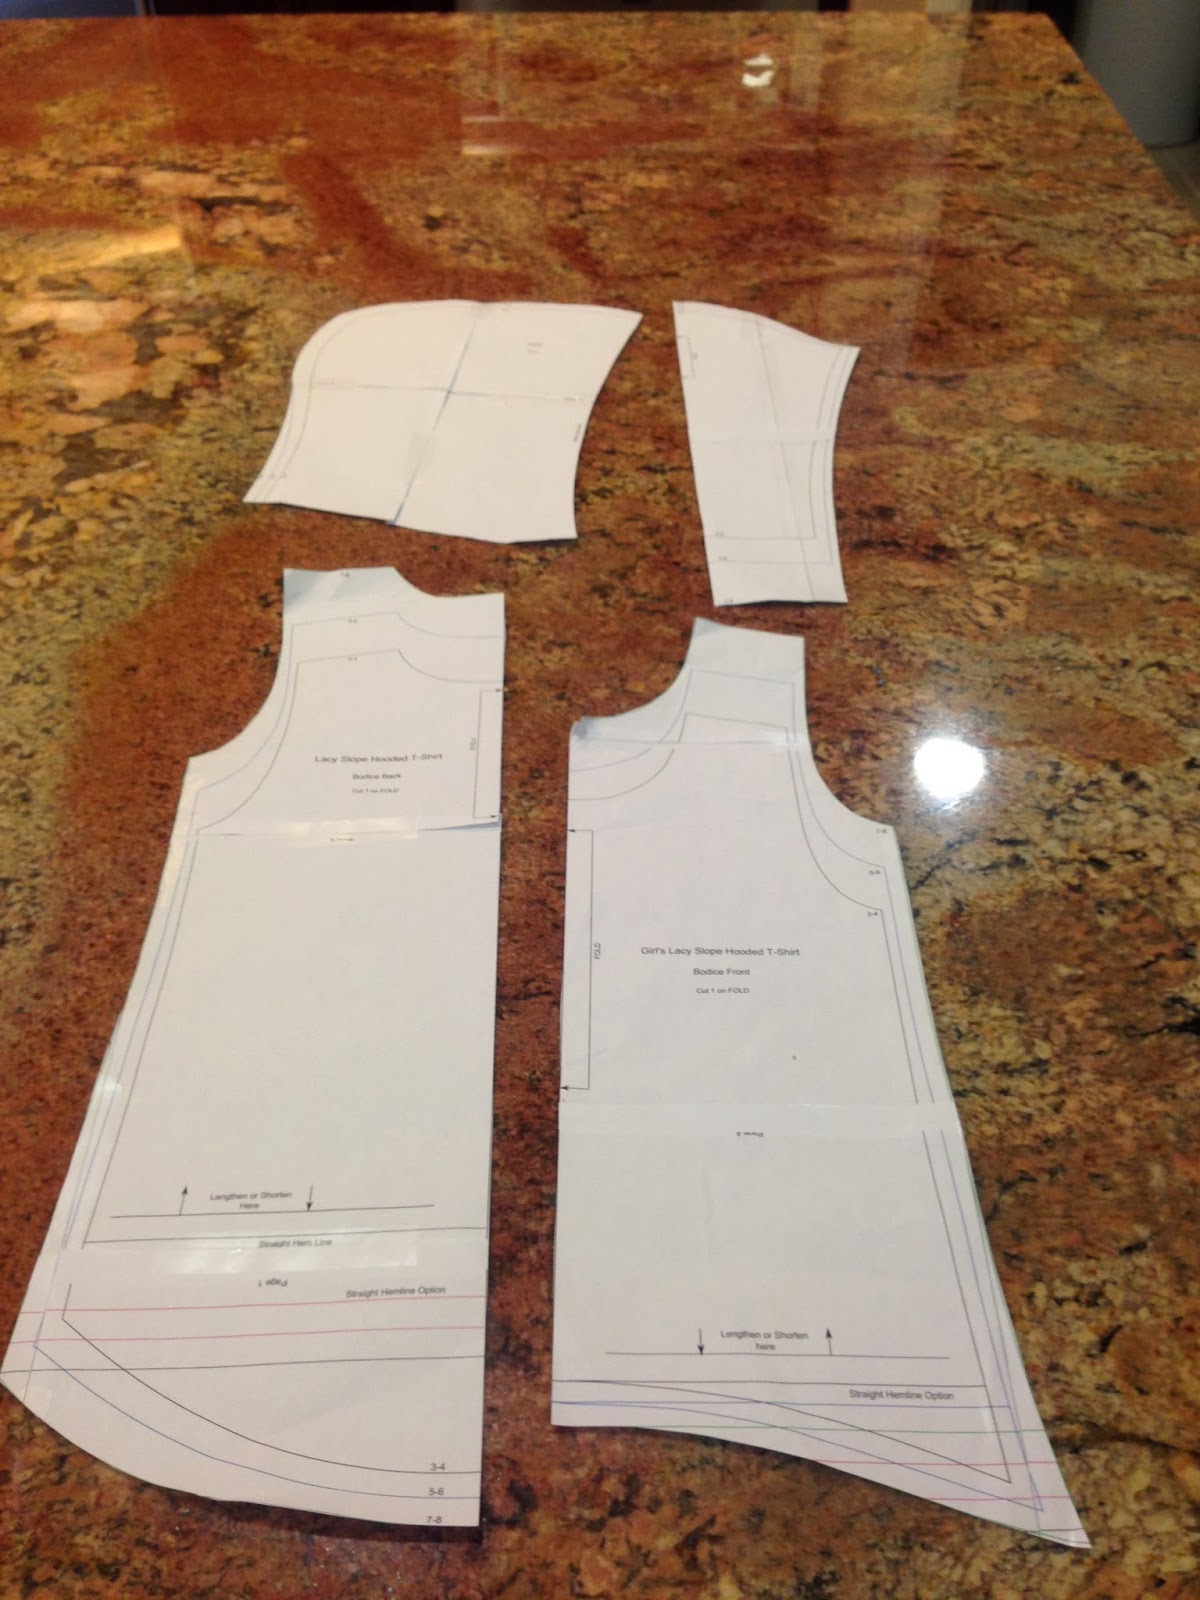
This is what you will have at this point.
If you have a thinner or slinky knit, it can be helpful to use the freezer paper method for cutting your pattern. I do this often for knits or patterns that I will make multiple times. If you are not familiar with it, this is what you need:
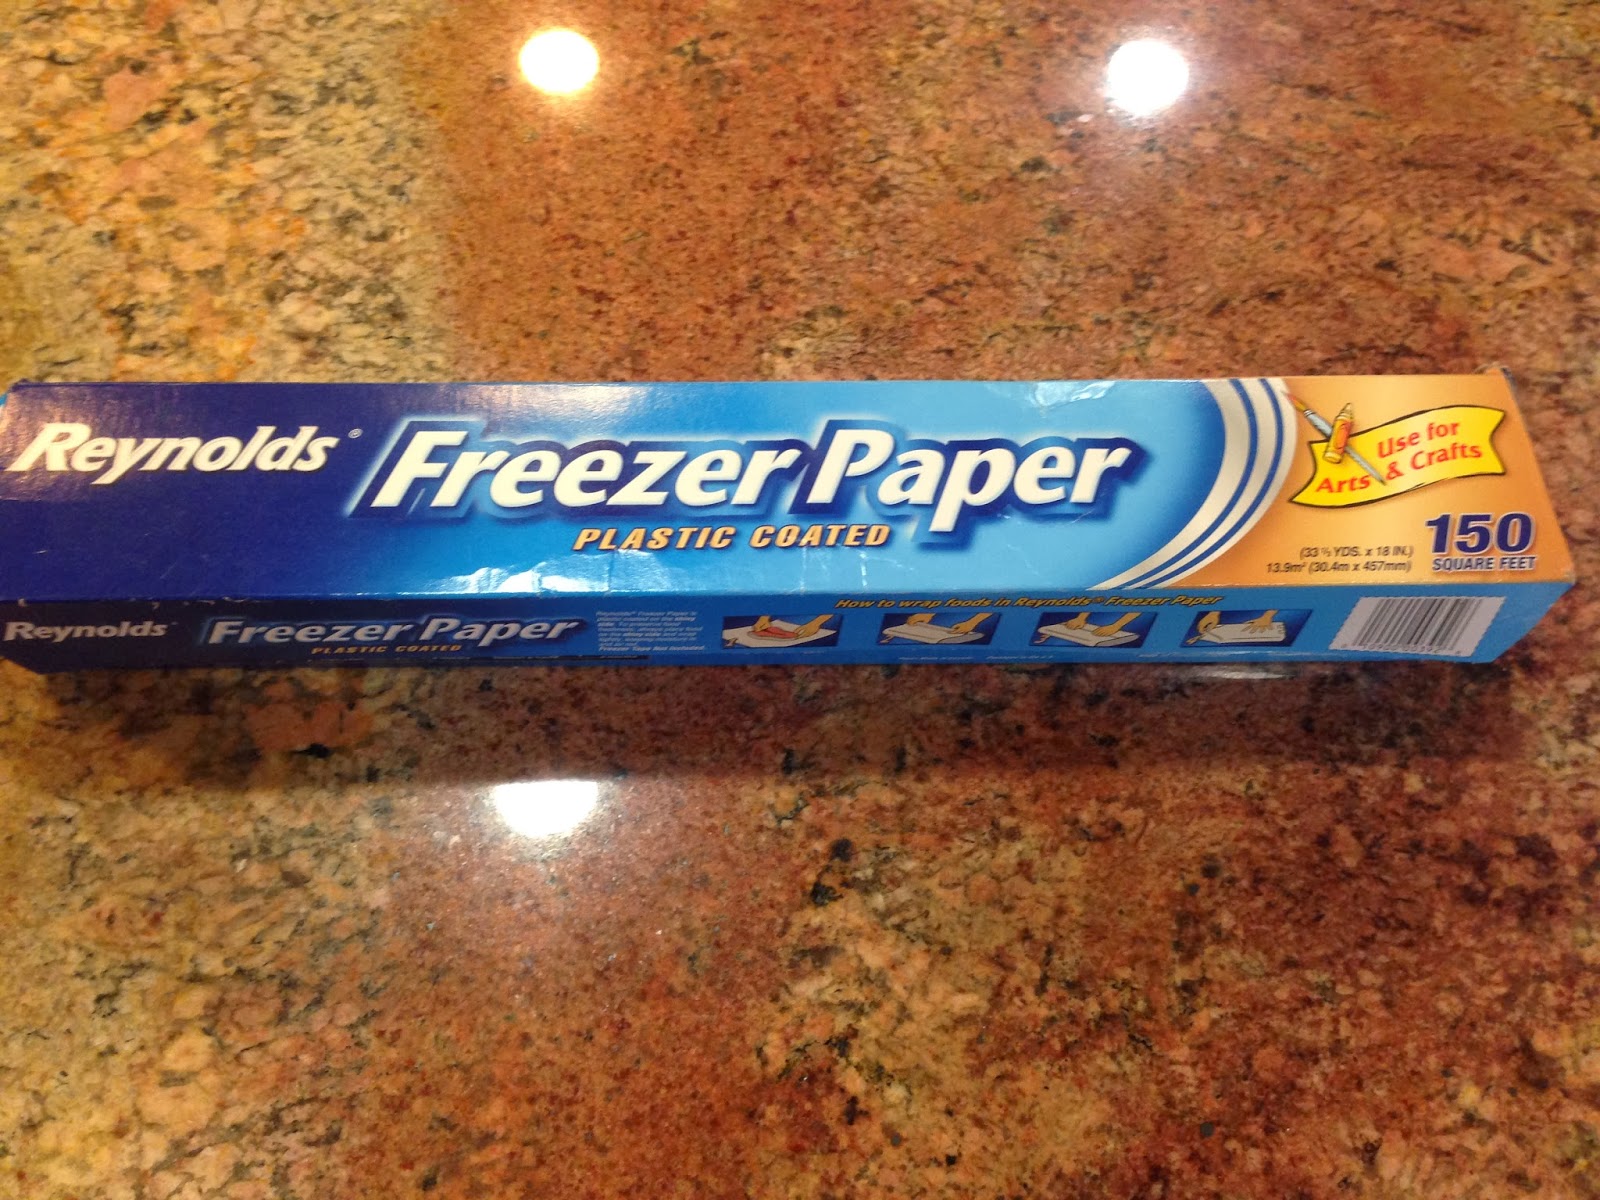
I sent the hubs to the local grocery store to get mine. He came back with it and asked if I was really using it for freezing stuff, lol.
Since I am making two of these, I cut out my larger size first and then laid it under the freezer paper (shiny side down) to trace out my smaller size. You could also do this before cutting out any pieces, just lay it right over the fully assembled pattern and trace.
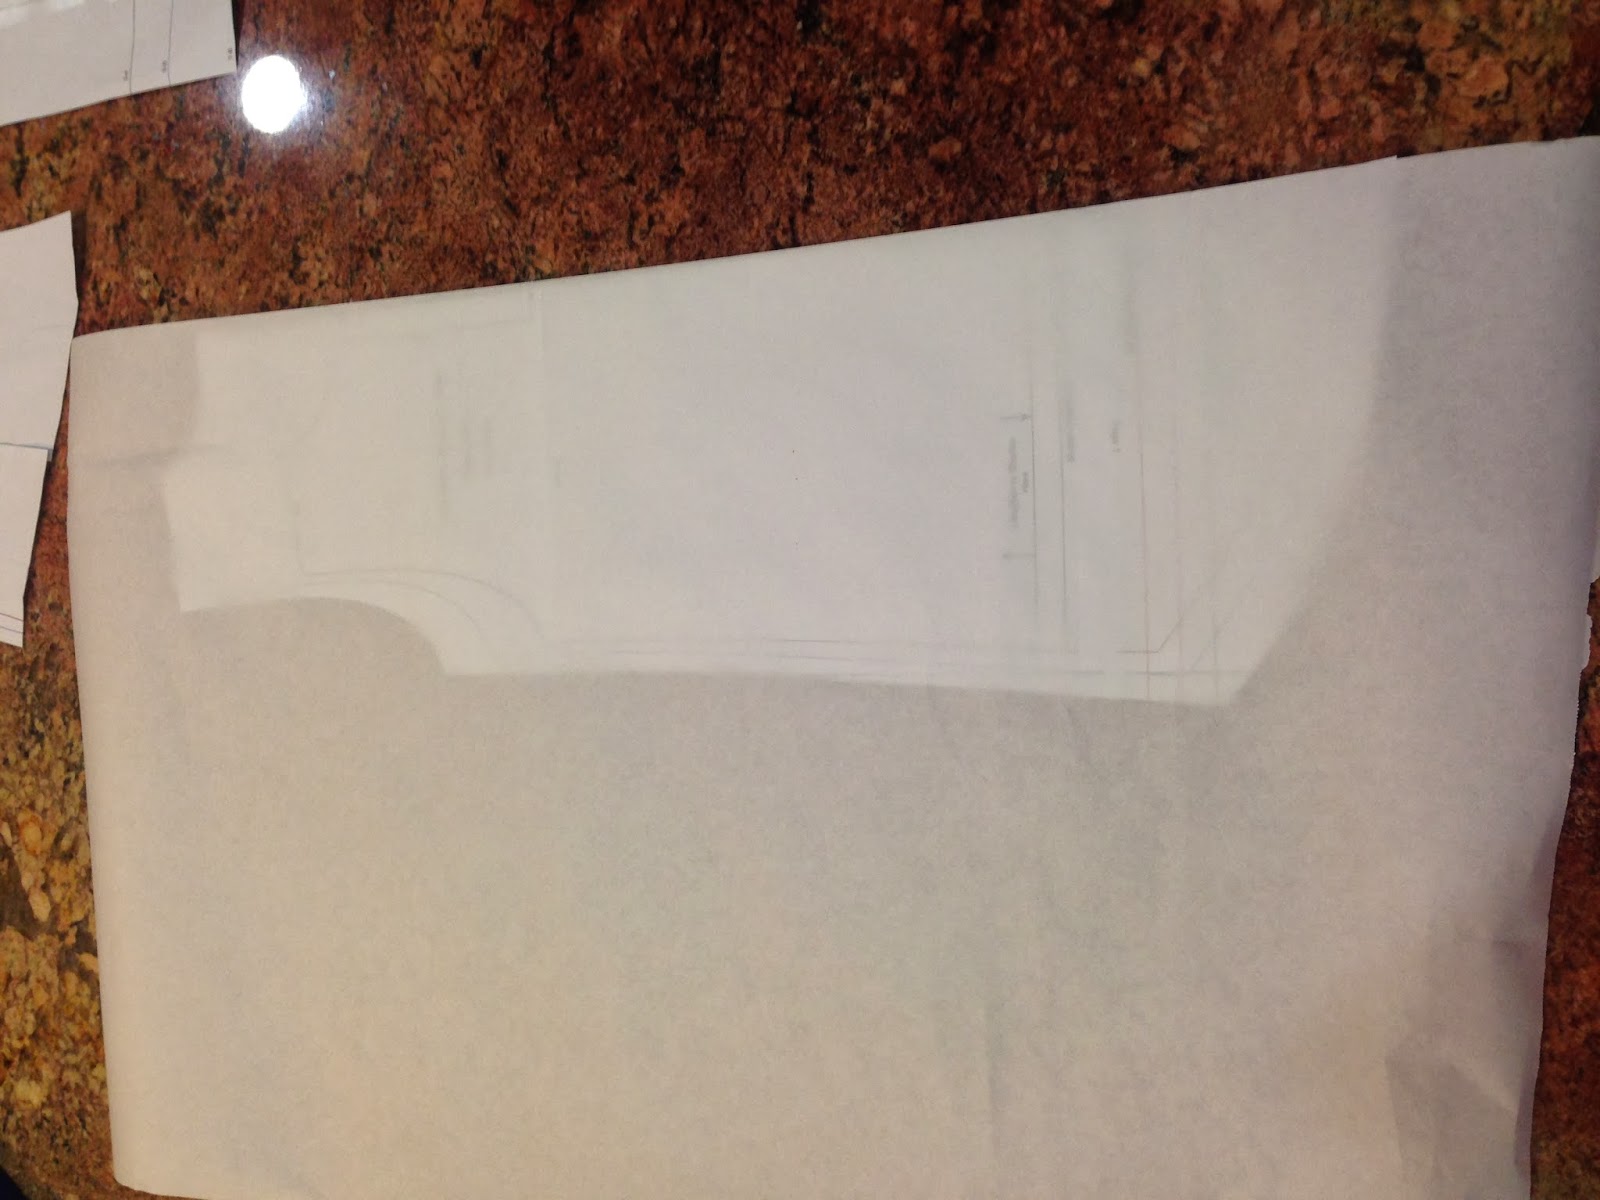
Just trace along the cut lines of the size you want. I use sharpies because I use them for everything :) Remember to label your pieces and transfer the pattern markings.
Once you have your pieces traced out, you just cut them out along the traced lines.

Now the fun part! I am using a t-shirt I found in the Target men's section for my shirts (sorry bronies!) so my layout will be a bit different. There is a great example of a layout for regular fabric in the pattern.
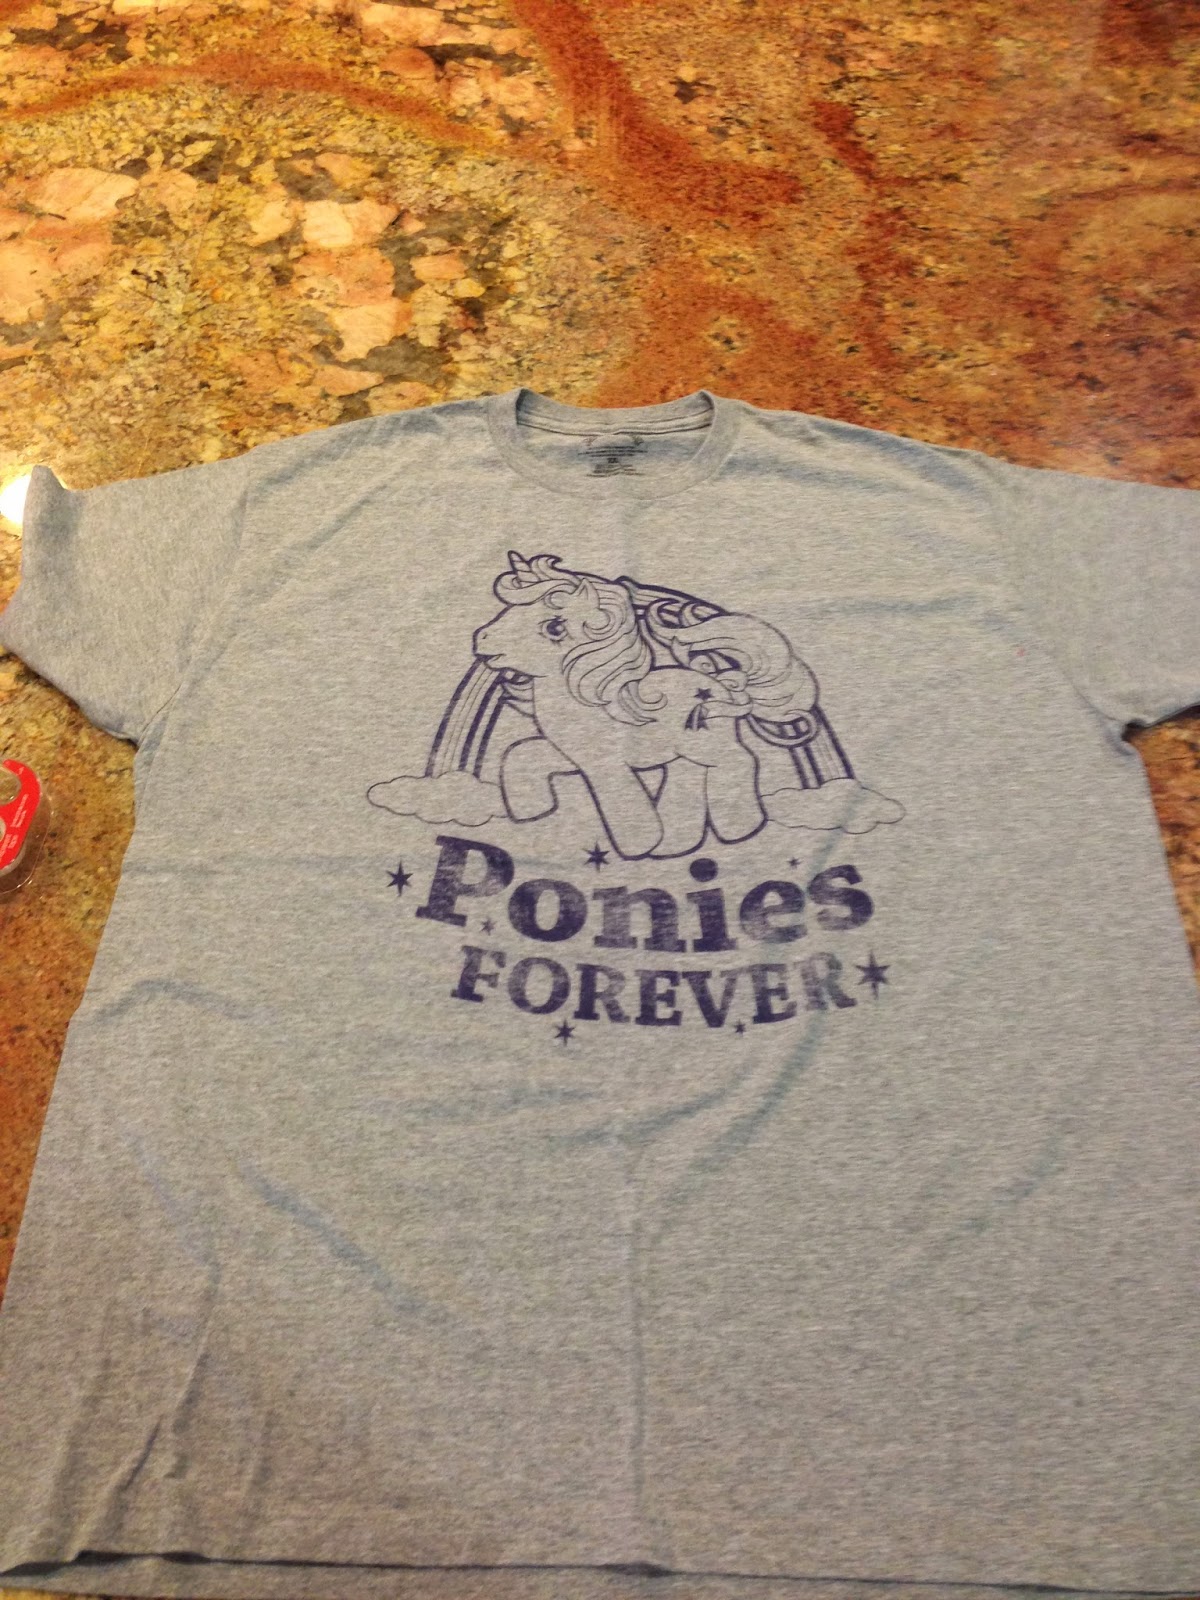
I carefully fold the shirt in half to center the design for the front of my shirt.
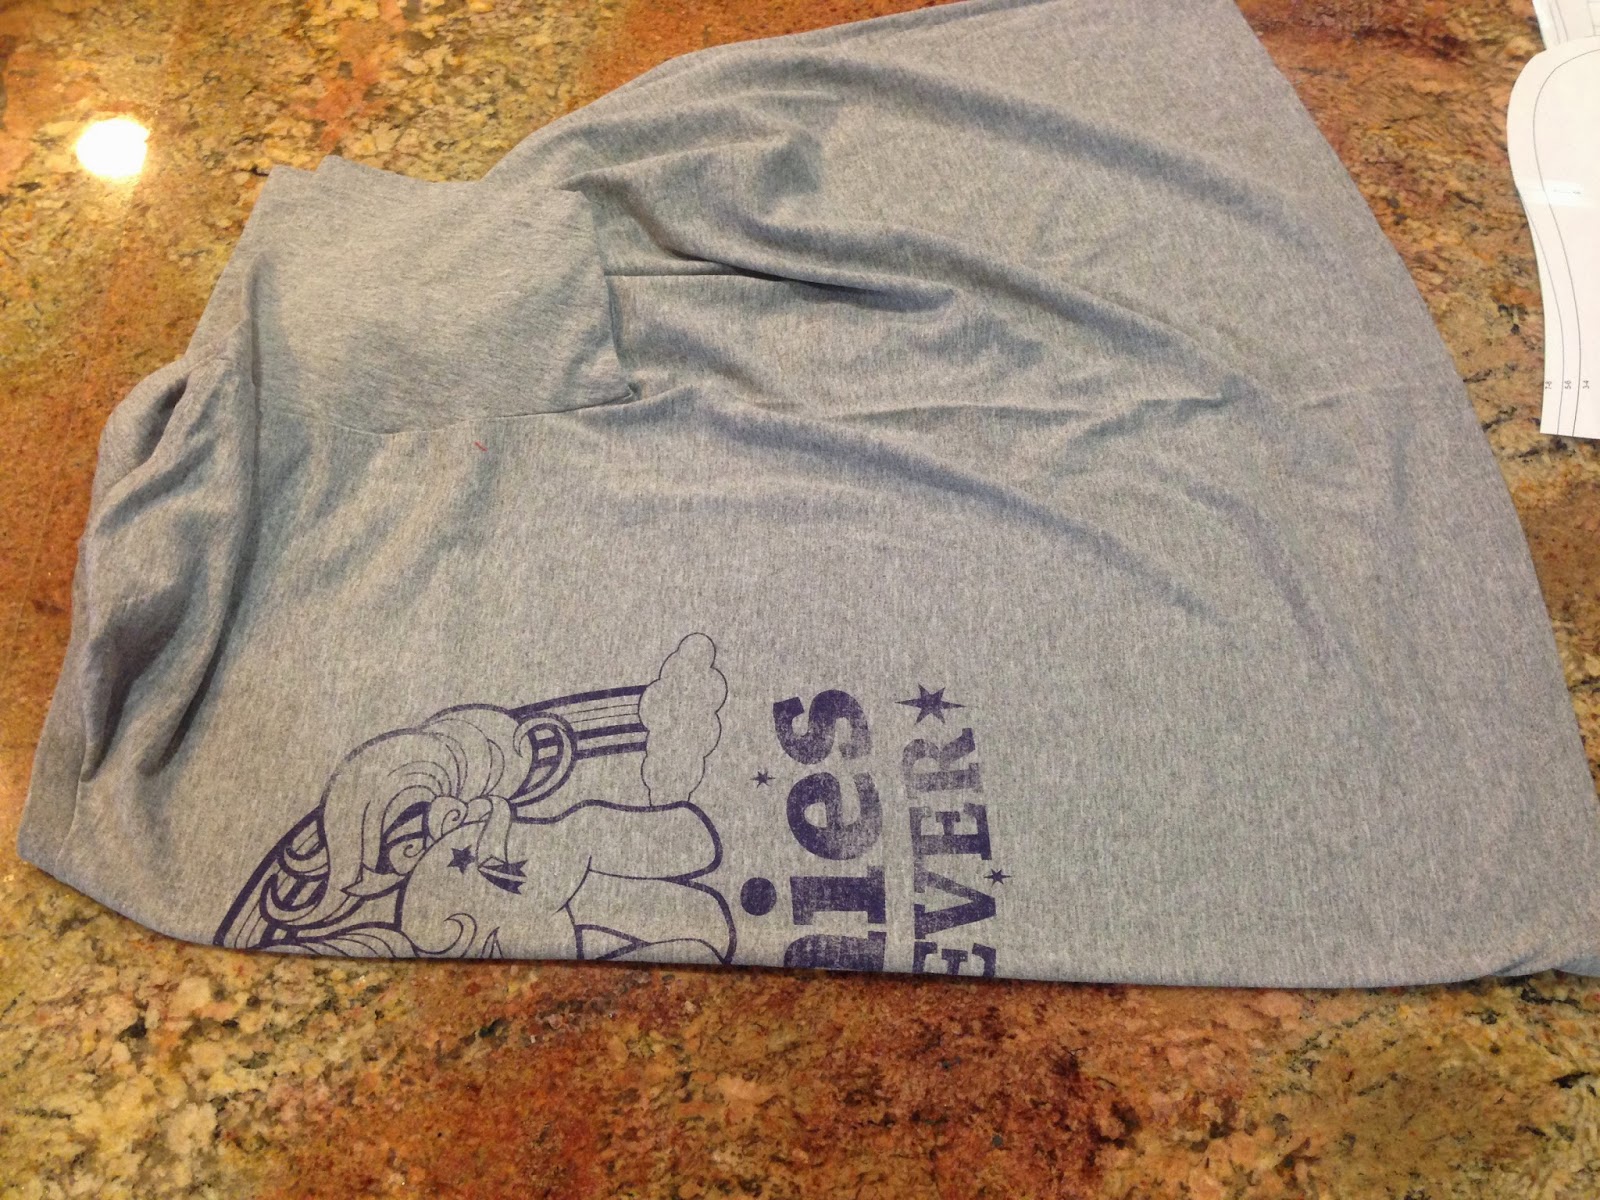
Then I place the freezer paper (shiny side down) on the top of it, along the fold. Then iron with a hot iron.
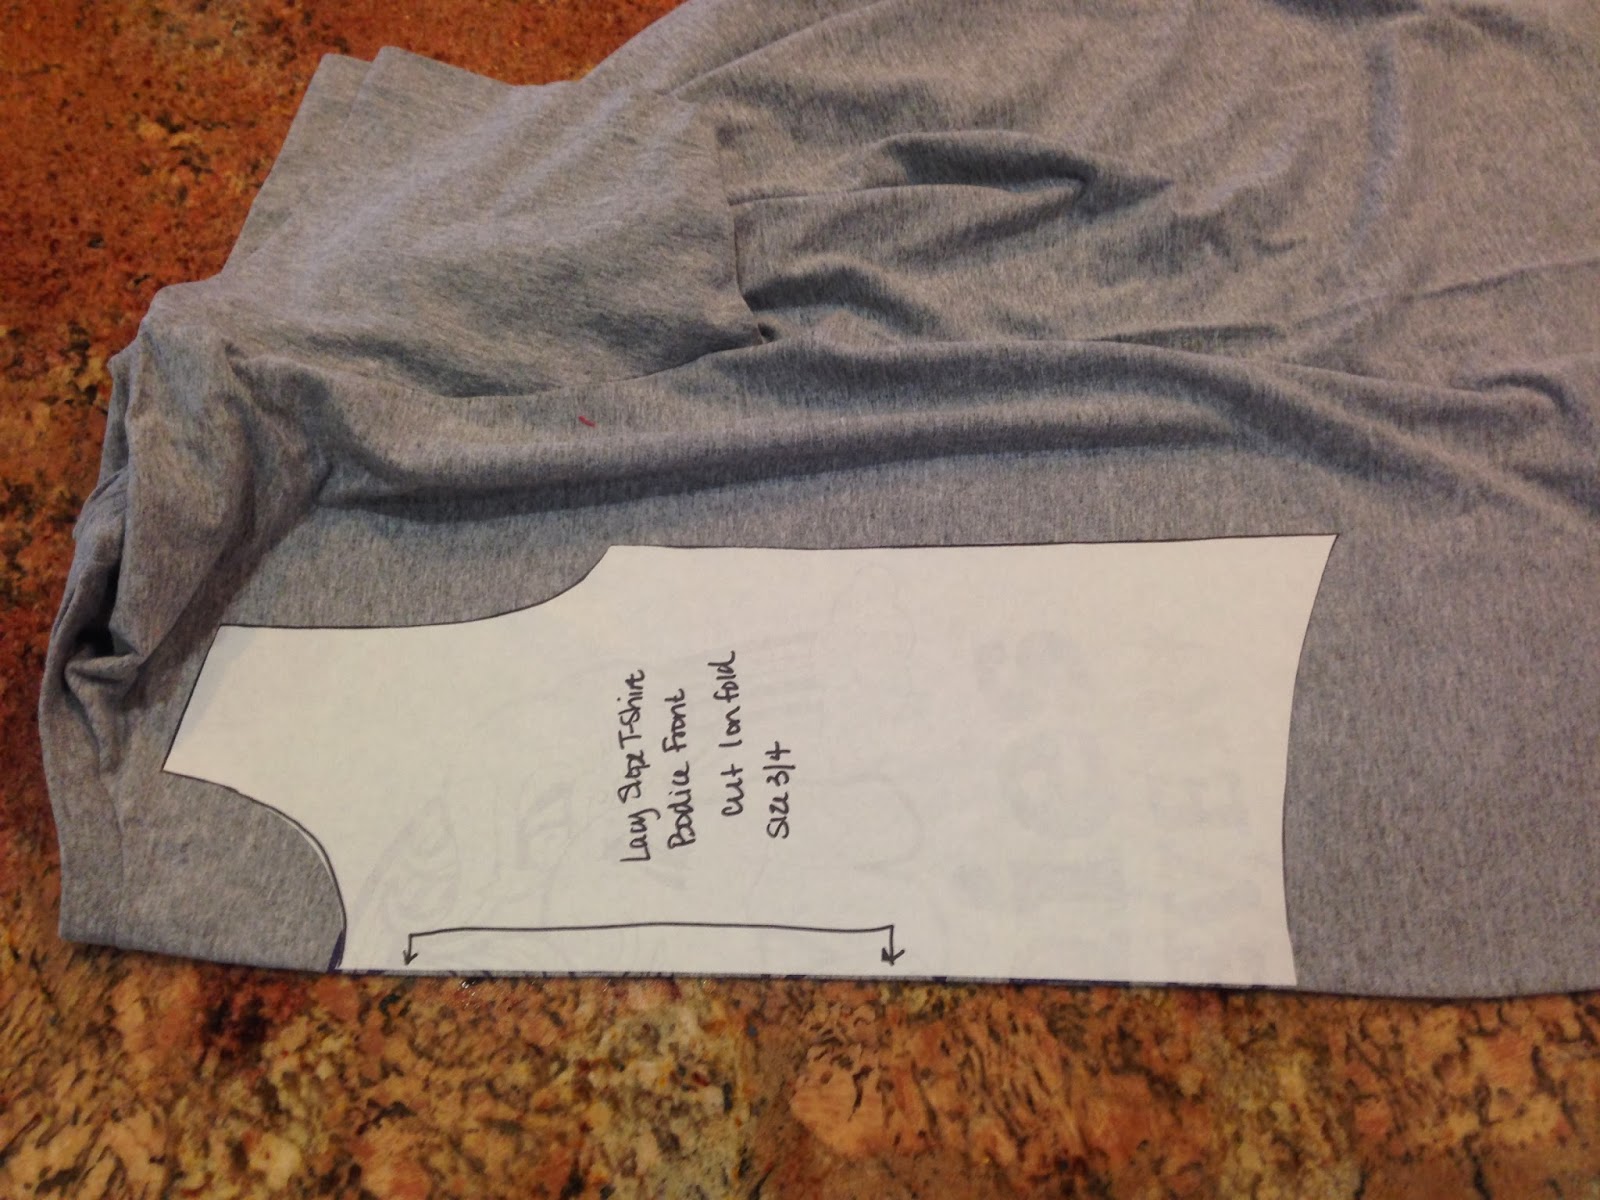
You can see it kind of adheres to the fabric once it is ironed.
Then you just cut around it. I followed the same steps for the back panel of the shirt.

And now I have some great scraps left over for future up cycling. I can see that neckband material being used in my near future!

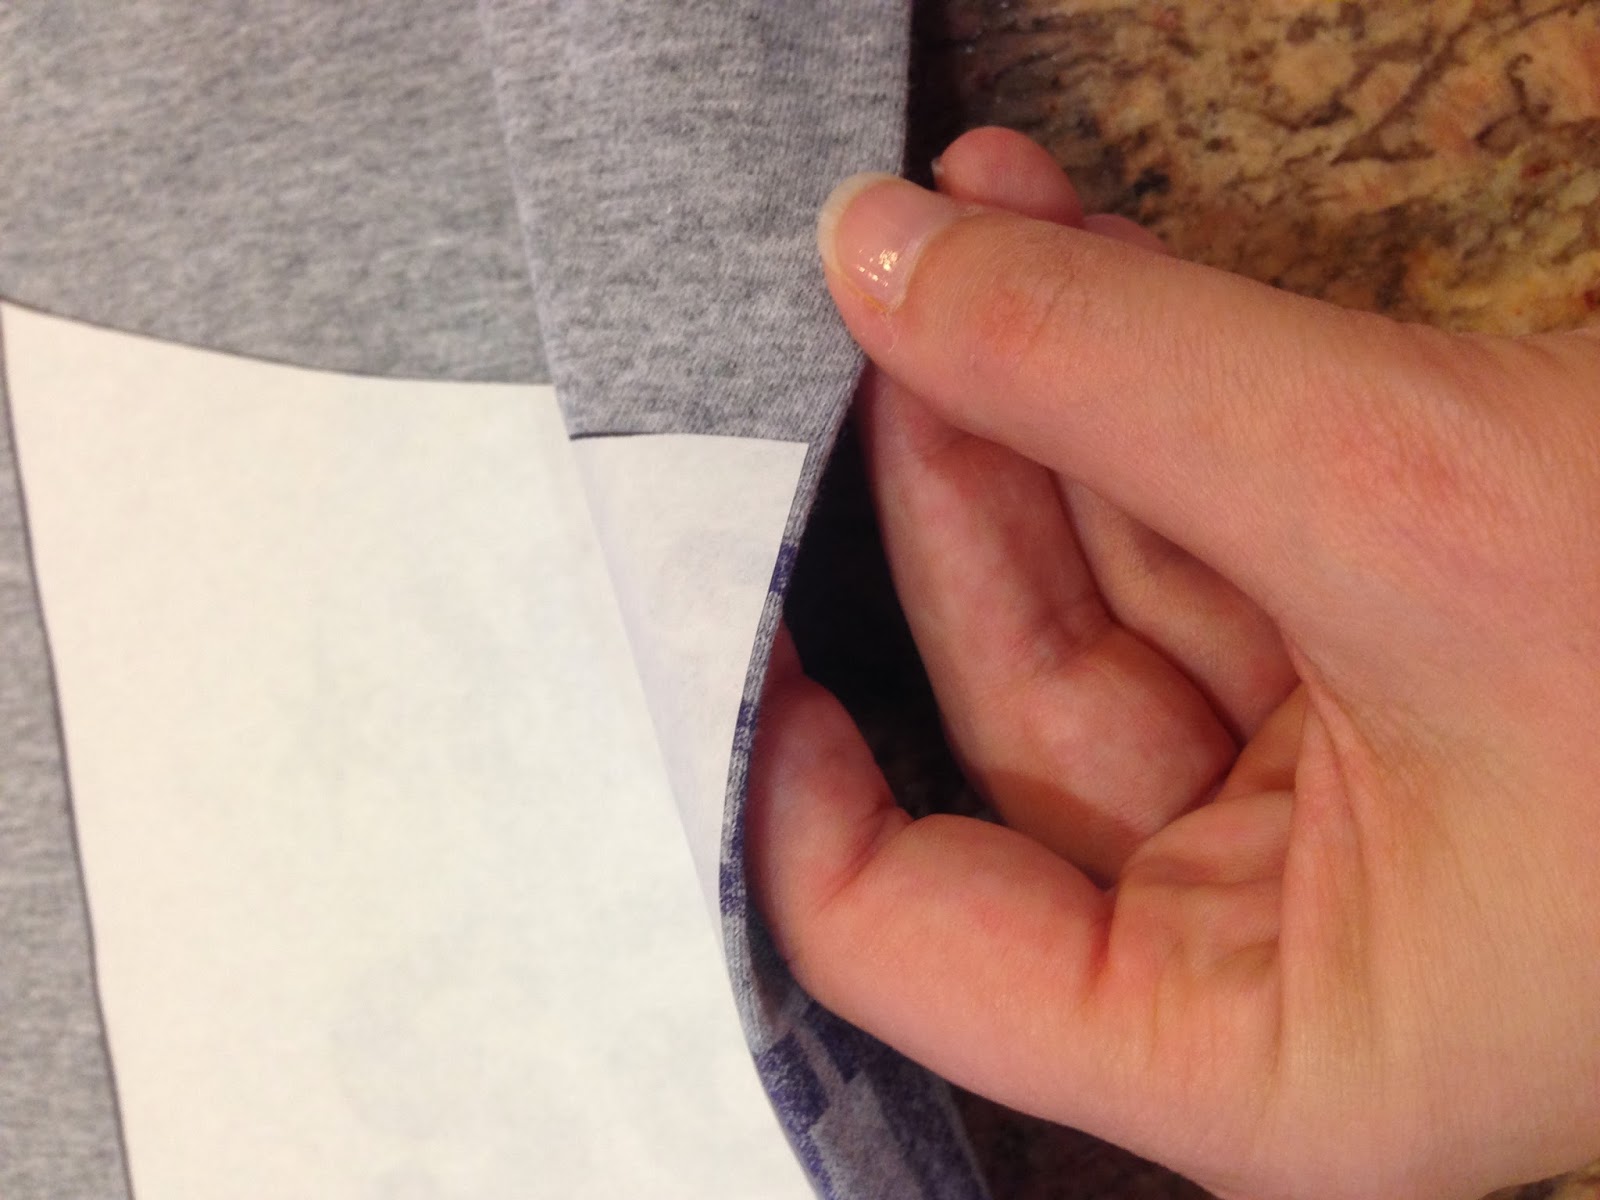
Once you are done cutting, you just peel off the freezer paper. Don't throw it out though; you can re-iron it and use it over and over for more shirts later!
For the hood and sleeves, I used a medium weight knit from JoAnn's and cut them using the same method. And don't forget to cut out your cuff pieces; there is a chart in the pattern for the dimensions of those.
And THAT'S ALL for today! Quick and easy, right?
See you tomorrow...
Sarah